
Andy Warhol, Jane Fonda.
Used commercially since the 1920s, screen printing became popular amongst American artists in the 1930s who would use the term #serigraph’ to differentiate an artist’s print from a commercial work. The process was popularised in the 1950s and Andy Warhol is often credited to this.
Screen printing is a method of printmaking in which the image of a stencilled design is transferred on a flat surface with ink, a mesh screen, and a squeegee. Typically, paper and fabric are the most commonly used materials, although it is possible to print onto metal, plastic, glass, and wood.
The most simple screen printing method involves creating a stencil on a mesh screen.Then, paint or ink is pushed through the stencil to produce the imprint of the design onto the surface of the chosen material. More complex designs can be produced by layering stencils to expose (or conceal) different areas of the sheet.
Screen printing has become one of, if not, the most popular printmaking techniques in the 20th century due to its relative ease of use, its low cost, and the endless ability to reproduce colours. What’s more, because the stencil can quickly and easily be reused, it is ideal for creating multiple prints of, almost, identical quality.
How are screen prints made?
To start, a design is printed onto a transparent acetate film, which is then used to create the stencil for printing.
The printer selects the right type of mesh screen to suit design and the texture of the material used. This mesh screen is then coated with light-reactive emulsion which is exposed to light and hardens as it is developed. This light will harden the emulsion so that any parts of the screen that are covered by the design will remain in a liquid state.
When more than a single colour is used, a new screen is required for each colour which is then aligned by hand to ensure that the design lines up. Once the emulsion has set any areas of the screen that are not covered by the design will go hard and any emulsion that has not hardened is rinsed off resulting in a clean imprint of the design on the screen which allows the ink to pass through. With the stencil ready to print, the screen is placed onto the printing press and the material is placed onto the printing board, just below the screen.
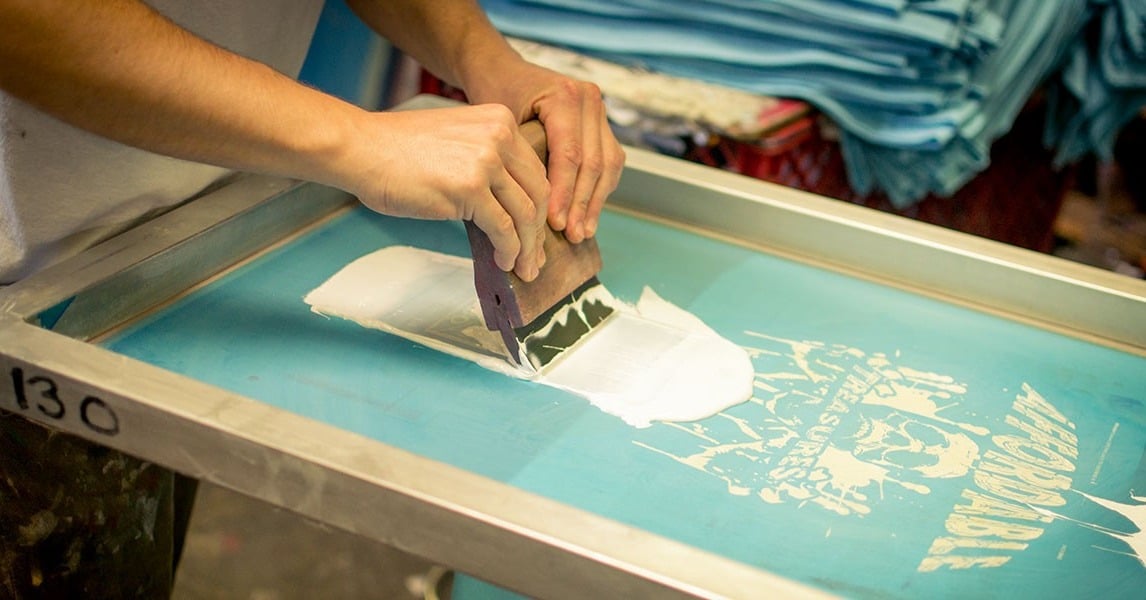
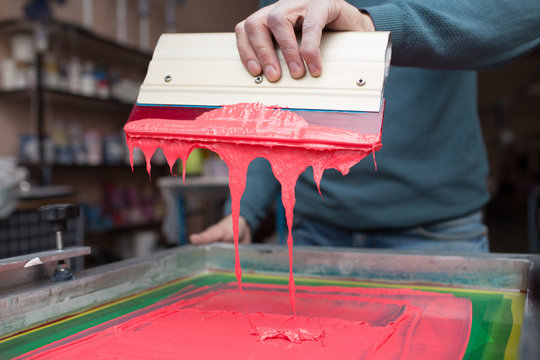
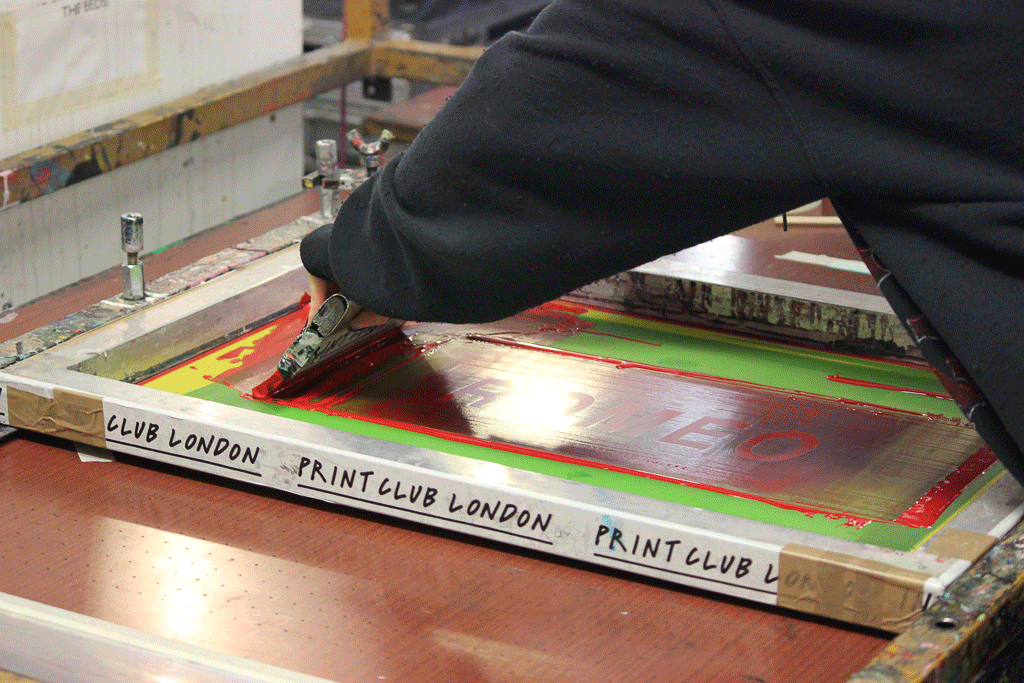
The screen is then lowered onto the printing board and ink is added to the top. A squeegee is used to pull the ink across the full length of the screen. This process pushes the ink through any open areas in the stencil, which results in the design being imprinted onto the material. For multiple colours, screens are aligned and the process is repeated to capture the detail and colours that each individual screen can produce.
Discover our selection of prints for sale from some of the most important artists of the 20th century including signed prints by Banksy for sale, Damien Hirst, Andy Warhol screenprints and more. For further information and to speak to Andipa Editions, contact our gallery via sales@andipaeditons.com or call 020 7589 2371.
